An API key is shown in full once, at creation. Store it somewhere safe — you can’t view it again.
Creating a key
1
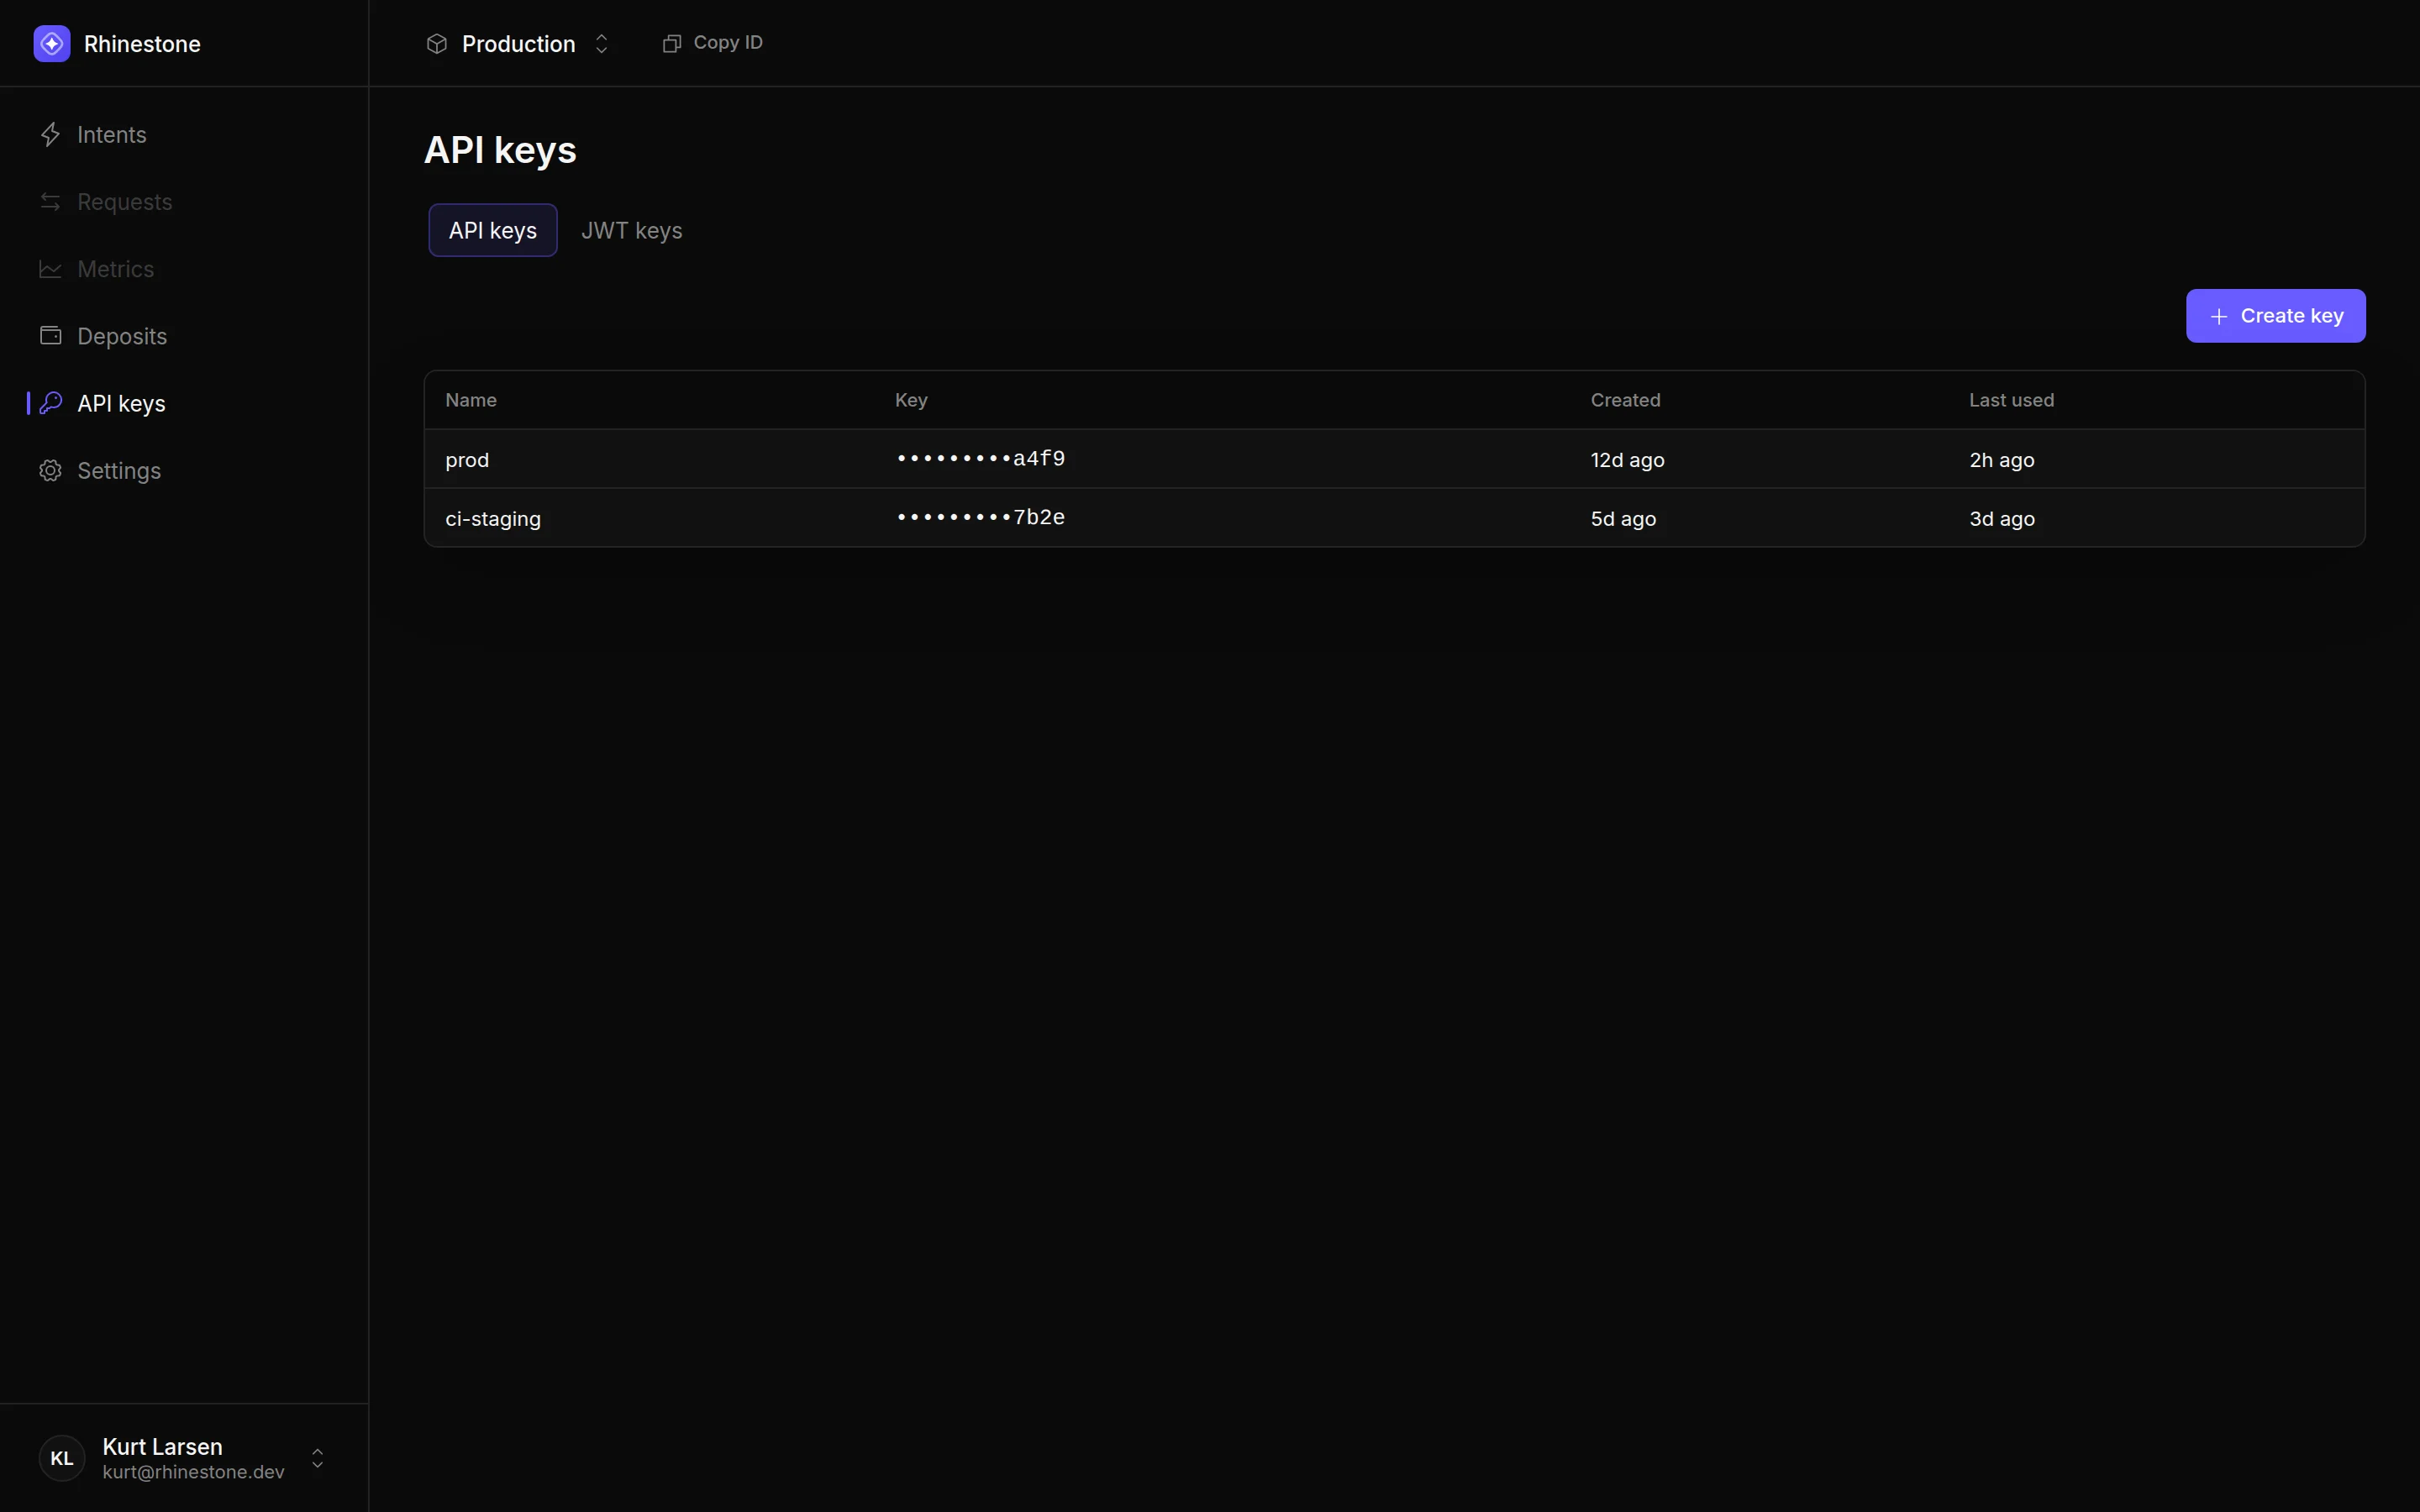
Open the API keys tab and press Create key
2
Name the key
Give the key a name you’ll recognise later (e.g. 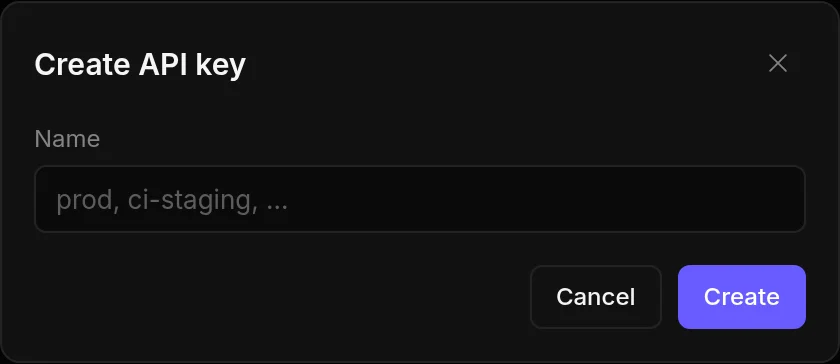
prod, ci-staging). Press “Create”.3
Copy and store the key
The full key is shown once. Copy it and store it securely, then press “I’ve saved this”.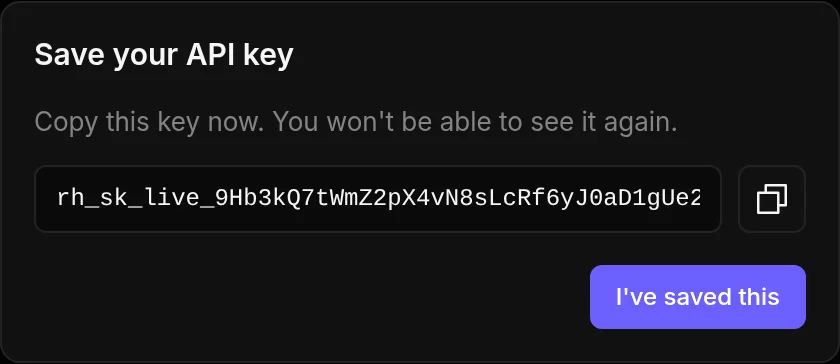
Scoping a key
By default a key is unrestricted. Open a key from the list to narrow what it can do under Scopes. There are three independent controls: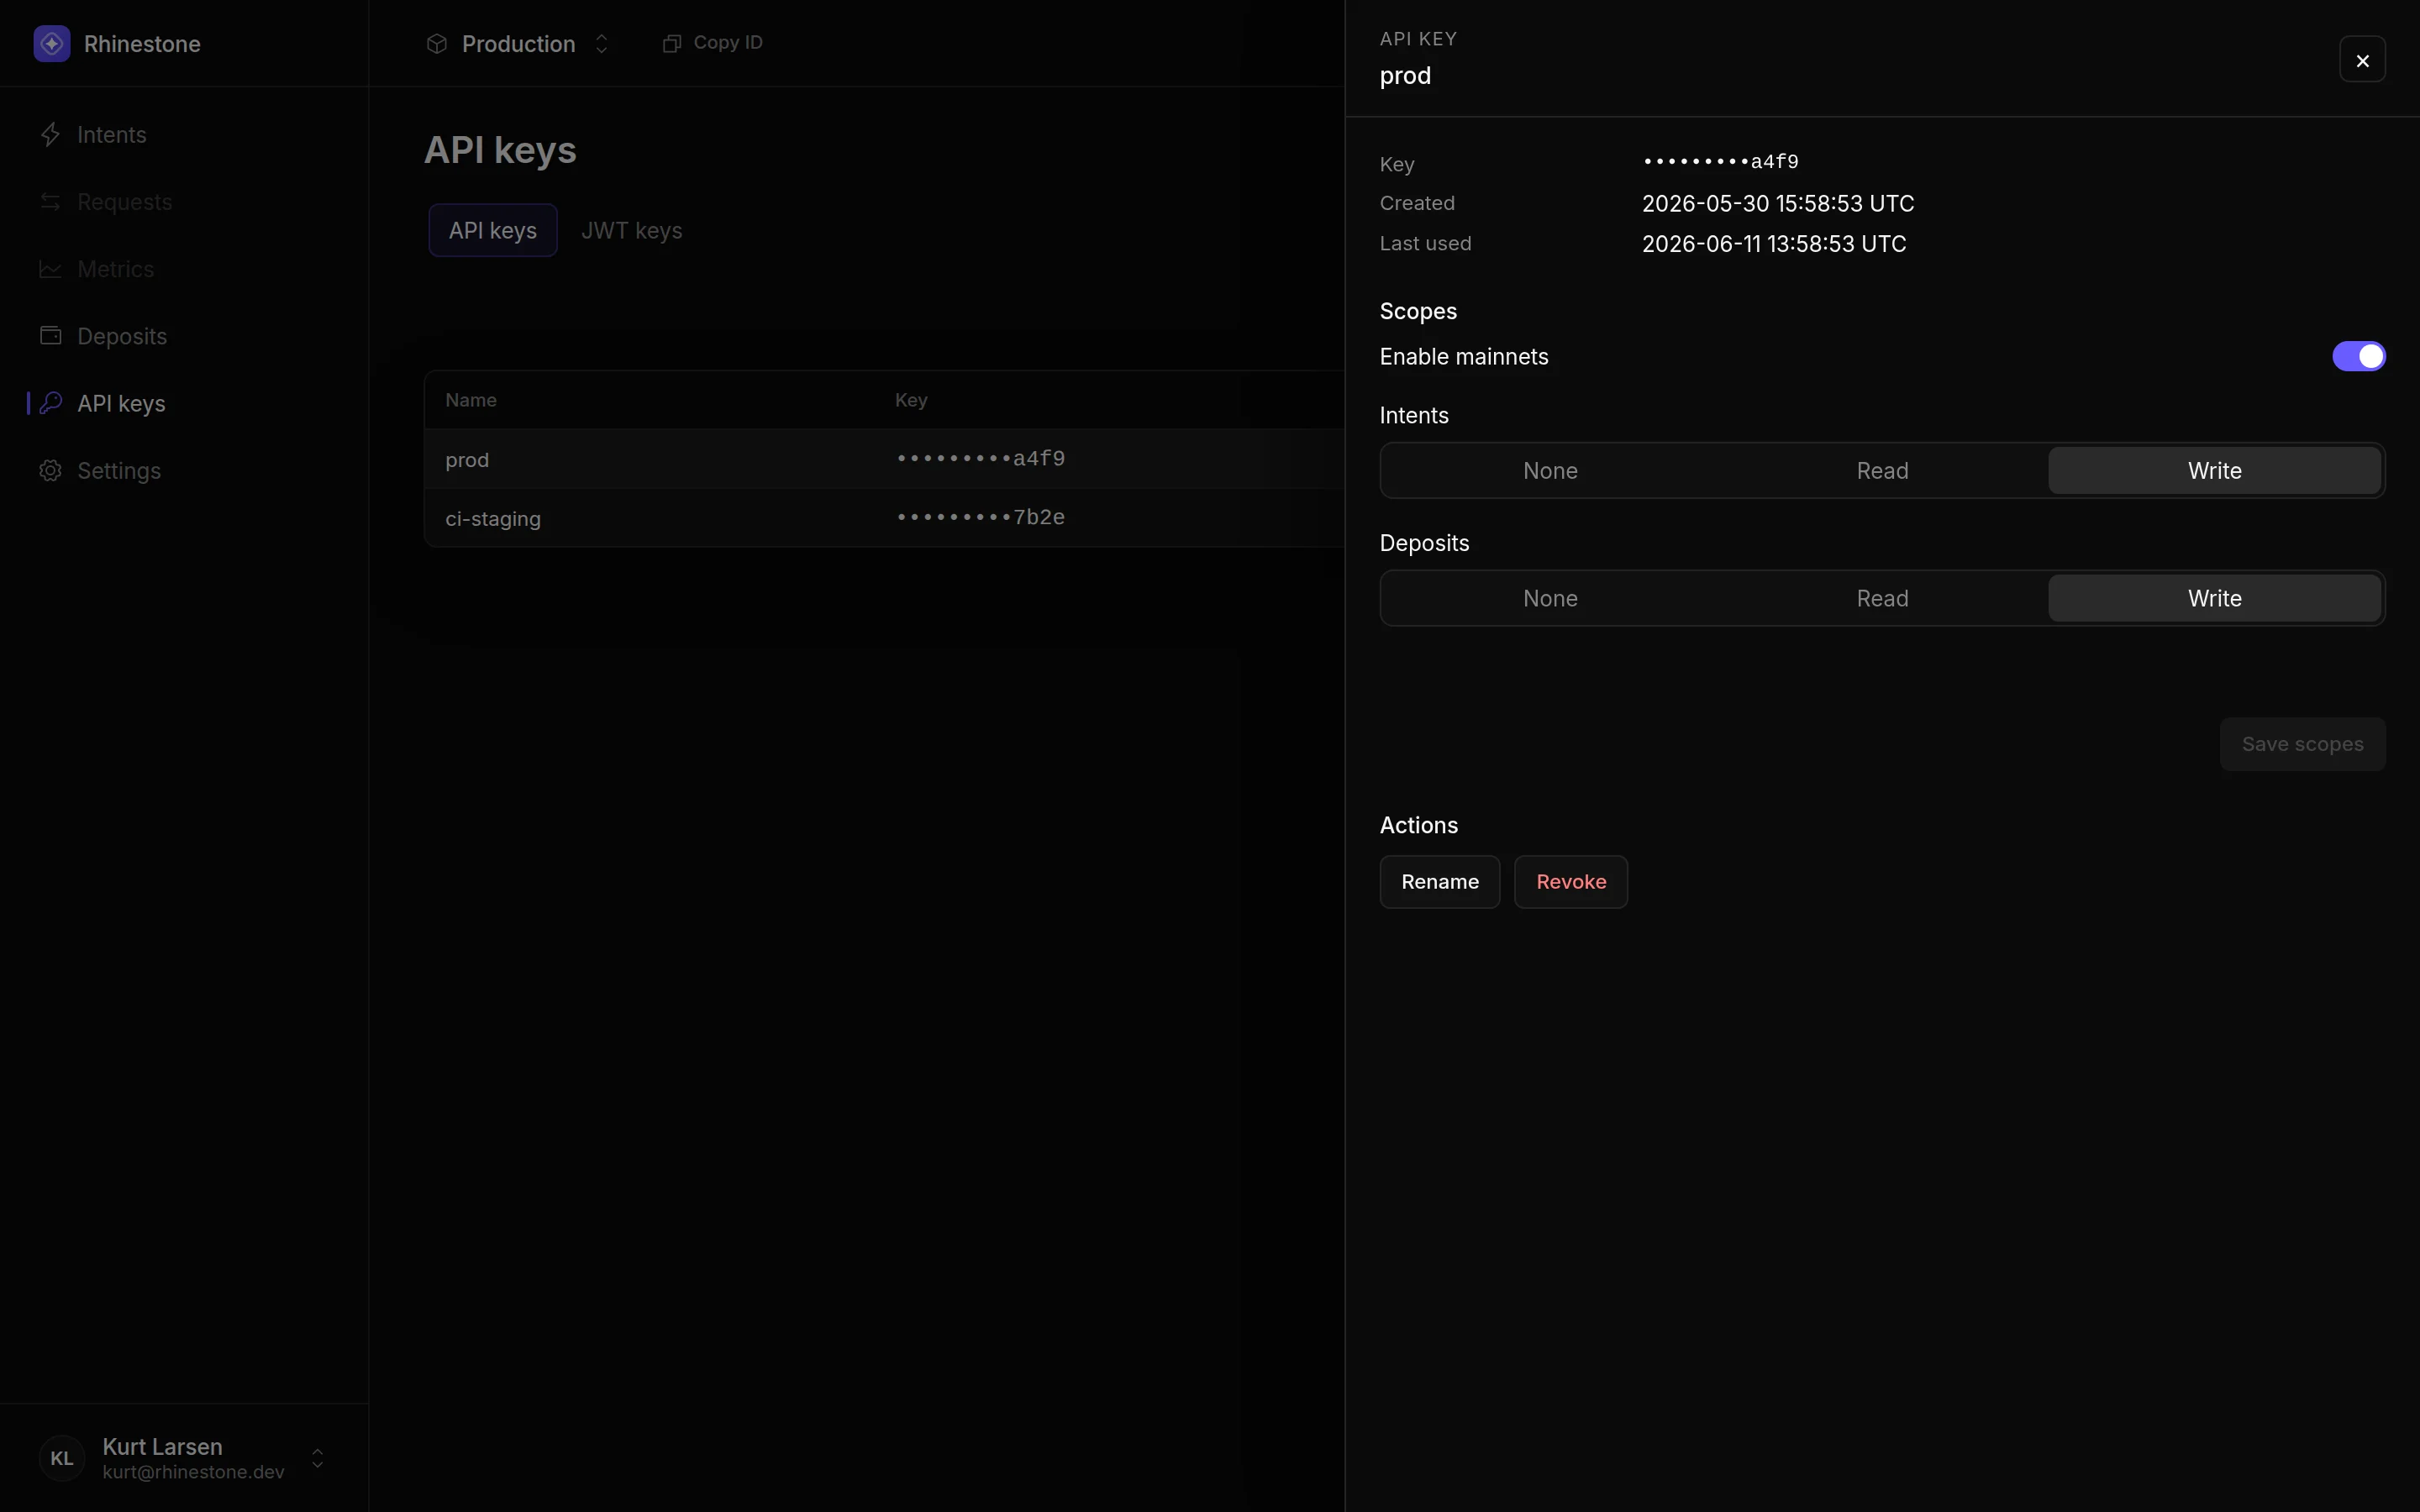
- Enable mainnets — when off, the key can only target testnets; mainnet requests are rejected. On by default.
- Intents —
Noneblocks all intent endpoints,Readallows quotes, status, and listing,Writealso allows submitting intents.Writeby default. - Deposits —
Noneblocks all deposit endpoints,Readallows balance and history,Writealso allows mutations.Writeby default.
Rotating a key
There’s no in-place rotation — you rotate by creating a new key and revoking the old one:- Create a new key (above) and deploy it to your service.
- Once traffic is flowing on the new key, revoke the old one.
Renaming a key
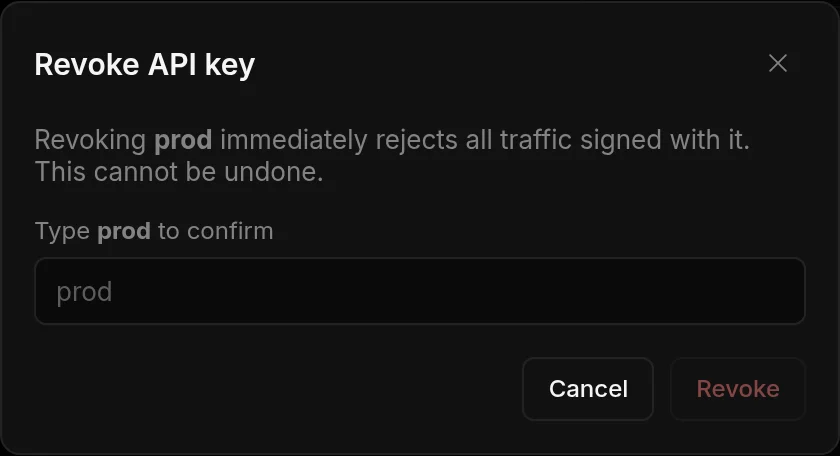
Open a key from the list and press “Rename”. Renaming is cosmetic — it doesn’t change the key’s value.Revoking a key
Open the key and press “Revoke”. You’ll be asked to type the key’s name to confirm.